How to integrate StorybookJS into your StencilJS Project | L4 Webdesign
Web Components are a great way to build a reusable design System that you can use on multiple templates. If you're interested in WordPress-theme-development, Shopify-Theme-Development or the development of any other template then you should consider taking a look at web components.
StencilJS is a great framework for developing web components. Unfortunately it can be a bit tricky to organize all of your web components. That's when StorybookJS comes into play. StorybookJS is a component library that allows you to organize your components easily.
Now, Storybook supports many JS Frameworks and libraries natively such as React, Angular or Vue. Unfortunately It doesn't support StencilJS by default. So we have to make some configurations here and there.
That's what this tutorial is all about.
If you'd rather watch a video tutorial, you can take a look right here:
So let's go:
- Install Stencil JS
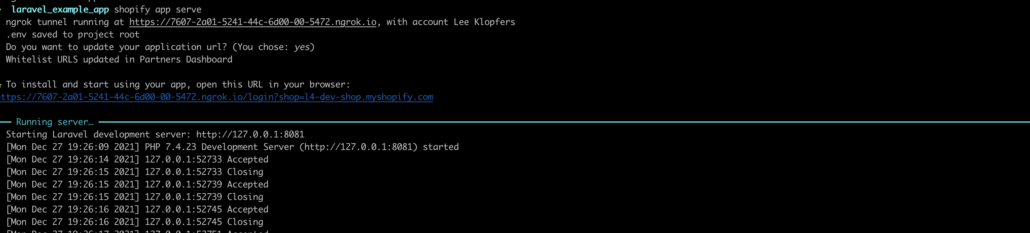
npm init stencil- Install Storybook within Stencil Project. Chose the manual setup. And It is also important to use vite as a bundler instead of webpackt. For some reason the reload won't work with webpack. So make sure to use vite.
npx sb init@latest-
chose to manually select project type
We want to create a project with web components. So we are going to choose 'web_components' from the list. We also want to chose Vite instead of Webpack! -
open preview.js and add the following code:
import {defineCustomElements} from '../loader';
defineCustomElements();- With this code we are importing our defineCustomElements method from the loader that stencil generated at build. So in order to get that method we have to build our stencil poject.
So open up a new terminal and type in
npm run build- Now let's create our first story: In order to create a new story we need to create a file that has the extension stories.ts. We will add this file in our component directory. Now add this code:
export default {
    // this creates a ‘Components’ folder and a ‘MyComponent’ subfolder
    title: 'Components/MyComponent',
    // this is an example of how to add actions to the story
    parameters: {
      actions: {
        argTypesRegex: '^on.*',
        handles: ['click'] // you can add custom events to this array to trigger actions
      }
    },
};

const Template = (args) => `<my-component first="${args.first}" middle="${args.middle}" last="${args.last}"></my-component>`;

export const Example = Template.bind({});
Example.args = {
  first: 'Winnie',
  middle: 'The',
  last: 'Pooh'
};- now we would have to type
npm run buildin order to build our stencil components everytime we want to make a change. Let's automate this. we have to add the --watch flag to this command within your package.json
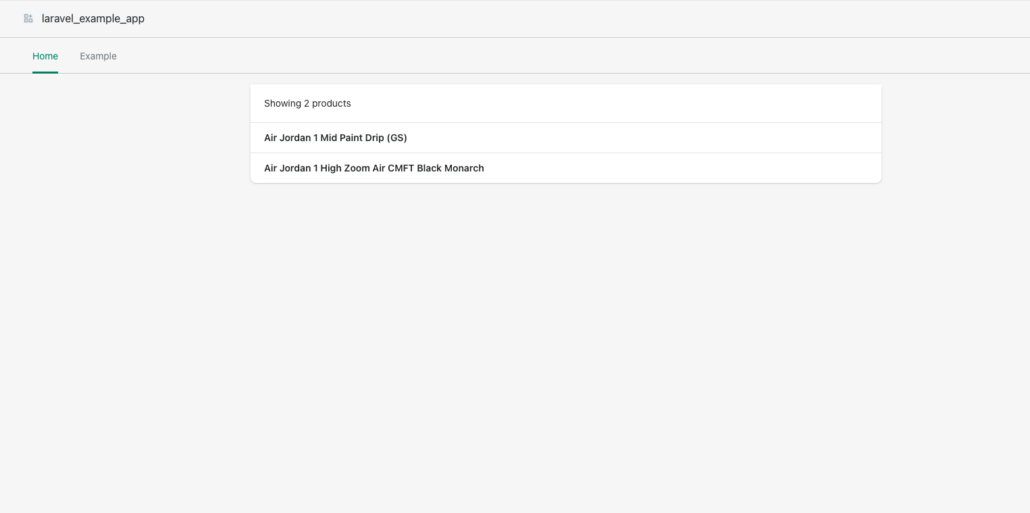
npm run build --watch- now if you want to create a new component all you have to do is type
npm run generateNow you will not see this newly generated component within storybook. That's because we haven't created a story for it yet. So let's add a story